
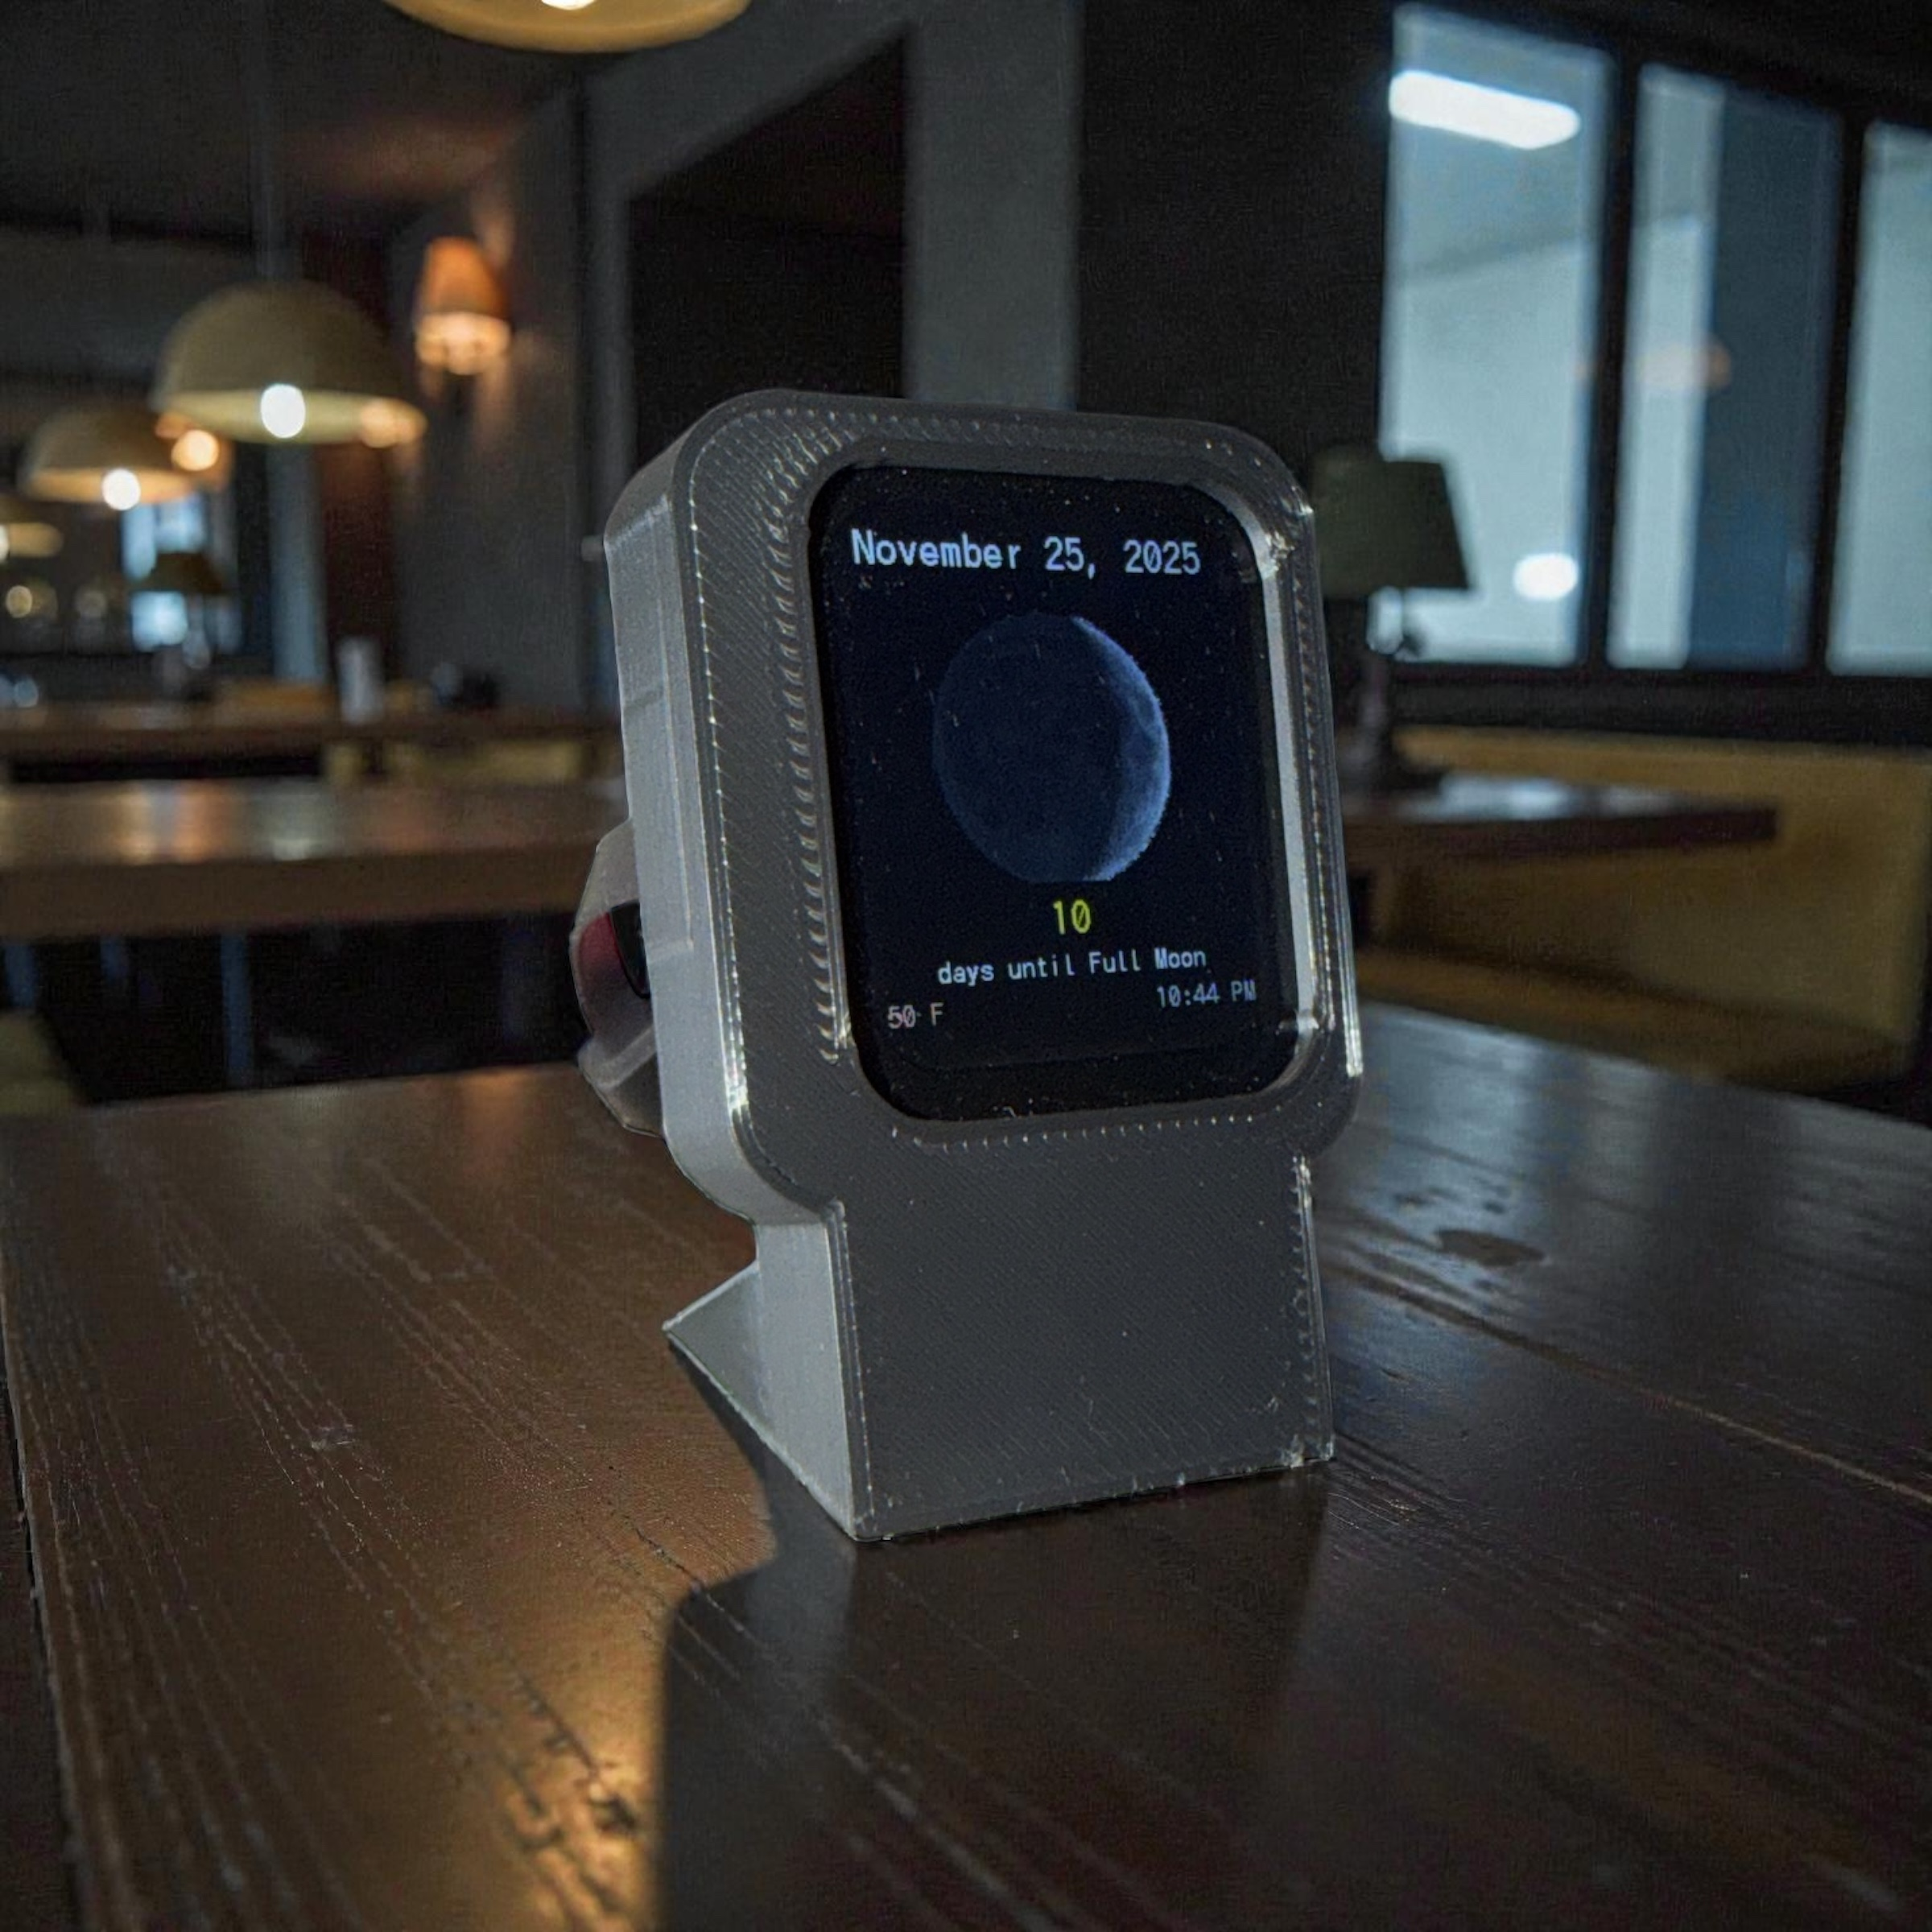
Some projects happen smoothly.
This was not one of those projects.
My Moon Counter—a tiny desk gadget that displays the days until the next full moon—went through a lot of trial and error before it even resembled something that worked. And honestly? That’s my favorite part of making things: the chaos before the magic.
Here’s how it all came together, one misprint and one microcontroller swap at a time.
The Printing Trials (aka: The Part Where I Relearned Tolerances Exist)
I started with an idea:
A small moon-shaped enclosure with a window for a screen, smooth on the outside and clean on the inside. Easy, right?
Absolutely not.

My early rounds of prints looked… let’s call them “educational.” In the photo above, you can see the graveyard of prototypes—frames that were too tight, bezels that were too loose, backs that didn’t close, and openings that somehow shrank after printing.
A few highlights from the chaos:
- The bezel warped just enough that the screen wouldn’t press-fit
- The moon-textured front printed beautifully but the opening was 1.2 mm too small
- The supports fused into the window frame
I probably printed eight or nine versions of the enclosure before I had something that actually fit together.
3D printing giveth, and 3D printing taketh away.
But each failure tightened the design—shrink tolerance here, chamfer there, widen the mounts, thicken the lip—and eventually the printed pieces clicked together cleanly. Finally, it started to look like something I could ship.
Why I Switched From Raspberry Pi to ESP32
My first prototype used a Raspberry Pi Zero W 2. It worked. Mostly. But it was:
- Overkill
- Slow to boot
- Too big for the small round enclosure
- Needy (Linux, file system, bootloader, etc.)
- Weirdly power-hungry for such a tiny device
And don’t get me wrong—I love the Pi. But it wasn’t right for a daily desktop gadget.
That’s when I switched to the Waveshare 1.69″ ESP32 Display.
Game. Changer.
Why the ESP32 was perfect:
- All-in-one screen + microcontroller
- USB-C power
- Instant boot, no OS overhead
- WiFi included
- Runs images straight from SPI flash
- Dead simple to update once a day
The footprint shrank, the wiring disappeared, and the whole gadget got cleaner, faster, and more reliable. The enclosure finally had room for tidy routing and a proper battery.
Plus, coding it in C/C++ feels made for this kind of purpose-built device.
How It Works (The Real Technical Magic Behind the Moon Counter)
Under the hood, the Moon Counter is doing a lot more than simply showing an image. Every part of the screen—the moon graphic, date, countdown, temperature, and time—is driven by real data, calculated daily, and stitched together by the ESP32 in real time.
Here’s what actually happens inside, based directly on the firmware:
1. It Syncs Time From the Internet
On boot, the ESP32 connects to WiFi and performs an NTP time sync.
This ensures everything—from dates to moon phase math—is accurate down to the minute.
The device won’t continue until it knows the real time.
2. It Fetches Weather + Moon Data Daily
Once the clock is good, the Moon Counter grabs a full data payload from the OpenWeather API:
- Current temperature
- Current moon phase (as a 0.0–1.0 float)
- Date in UNIX time
- Sunrise/sunset (not currently displayed, but available)
That moon phase float is what drives everything else.
3. It Calculates the Days Until the Full Moon
Using the moon phase value, your firmware computes how far we are from the 0.5 phase (full moon).
The math is:
- Take the moon phase
- Compute distance from 0.5
- Multiply by a 29.53-day lunar cycle
- Round to the nearest integer
- Boom — days remaining
This value gets its own color via your custom rainbow countdown palette.
4. It Loads the Correct Moon Image From SPIFFS
You aren’t using pre-rendered frames anymore — you’re loading PNGs dynamically:
moon_phase_get_image()picks the correct graphic- The PNG is decoded using
pngle - A scaling factor shrinks it to 70% for layout
- Pixels are drawn manually onto the TFT screen
It’s basically a tiny GPU pipeline done in software.
5. It Draws the UI in Layers
Your code renders the display in a very specific order to make the layout clean and centered:
Layer 1: Background
A full-screen fill to pure black.
Layer 2: Date
Centered and drawn using the big Fontx font.
Layer 3: Moon Image
Decoded, scaled, and centered with a vertical offset.
Layer 4: Countdown Number
Color-coded based on proximity to the full moon.
Layer 5: “days until Full Moon” Label
Grammar-corrected based on whether the value is 0, 1, or >1.
Layer 6: Temperature + Time (bottom bar)
Redrawn every minute without touching the main UI.
This part uses your clever partial refresh task to avoid re-rendering the PNG every 60 seconds.
6. It Sleeps Until Midnight
Once the daily UI is drawn, the device calculates the next midnight and sleeps until then. At midnight:
- It fetches fresh data
- Re-renders the full screen
- Resets the daily countdown
But the bottom info bar (time + temp) keeps updating every minute, thanks to its own lightweight task.
The Result
What you end up with is a tiny self-contained dashboard:
- Correct date
- Correct moon image
- Accurate days-until-full-moon countdown
- Real-time weather + time
- A once-per-day full screen update
- A once-per-minute footer refresh
It feels simple and peaceful from the outside, but inside, it’s running three asynchronous tasks, two APIs, NTP, a PNG decoder, a font renderer, and a custom color system.
All running on a single ESP32 with no OS.
The inside of the case now has a custom mount for:
- The ESP32 board
- Venting for heat
- A clean front-facing display frame perfect for a desk view
Everything fits snugly without stress on the parts—which is exactly what all those failed prints were fighting for.
What I Learned
This project reminded me of one of the truths of making:
Your first idea will not be your final design.
And that’s good.

The prints that didn’t fit taught me how to make the ones that did.
The Pi prototype showed me that smaller and simpler was better.
The whole messy process turned into something tiny, elegant, and dependable.
Now the Moon Counter sits on my desk doing exactly what I wanted: a daily little piece of lunar magic.
And every time I look at it, I see not just the days until the next full moon—but all the iterations that led to the final one.
If you want one of these little lunar gadgets for your own desk, nightstand, or altar, you can order a Moon Counter directly from brinae.store. Every unit is printed, assembled, flashed, and tested by me—no mass production, no shortcuts, just a tiny piece of handmade tech art built with care. You pick the color, I build it, and your Moon Counter arrives ready to glow quietly through each lunar cycle.

Moon Phase Counter – Mini Desktop Display
A compact digital moon-phase tracker that shows today’s moon, the countdown to the next full moon, and current temperature and time.
Want to make Your own?
Here’s a list of all the materials I used to craft this, and my GITHUB Repositories: